Toolbox Field Insert
The Toolbox Field Insert is used to insert custom field values inline. Inline means that there is probably something to display before and after it. For instance when you want to display a company name as
“You are currently viewing details for [[company name here]], [[city name here]]”
With Toolbox, you can easily add *any* fieldtype you want inline. Even repeaters, relationships and flexible content fields.
Open a Module that accepts the Insert Connector. One of those modules is the Text Editor Module. Click the Icon next to the WYSIWYG Editor and click on the Toolbox Field Insert button.
The same Toolbox Connect panel will show. Again, select the Field Type and Field Name of the field you want to insert.
You could add the Company Logo field inline. In this example, “Company Logo” is a field of type “Image”.
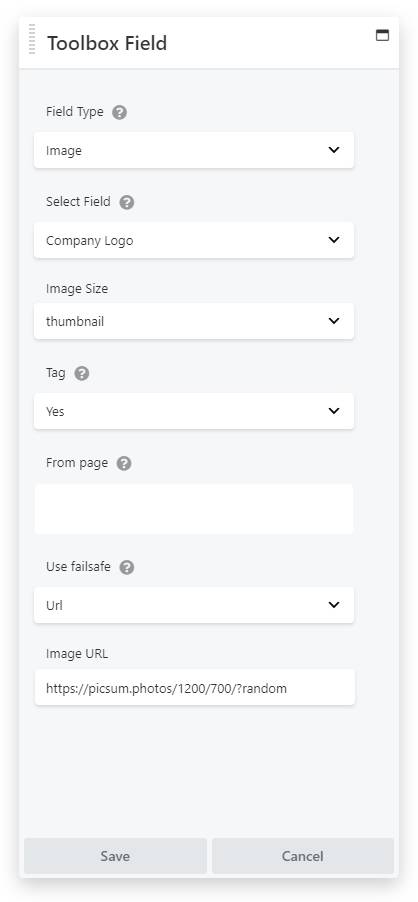
For outputting an Image Field you can select a number of settings. Two important settings are the Image Size, telling it which image-src to use, and the Tag setting. This is useful to add the img-tag along with the url, resulting in an image instead of an url only.
As you might have figured, sometimes you will need to use the Image field without outputting the Tag, for instance when setting it as a background-image.
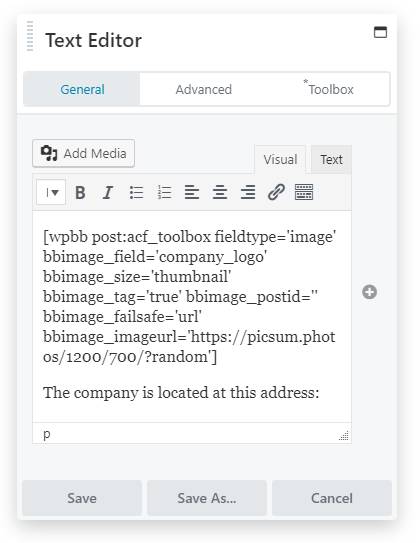
After clicking save, the field will be inserted as a shortcode. Of course this looks like a lot of information but it contains all settings needed to display the image in any given situation.
