Adding a masonry grid
Code
A masonry grid is when you have items that are laid out one after the other in the inline direction. When items move onto the next line, they will also move up into any gaps left by shorter items in the first line. Here’s an example:
Card Title
Officiis odio quisquam?…
Card Title
Officiis odio quisquam? Molestiae necessitatibus felis eos, sociosqu!…
Card Title
Officiis…
Card Title
Officiis odio quisquam? Molestiae necessitatibus felis…
Card Title
Officiis odio quisquam? Molestiae necessitatibus felis…
Card Title
Officiis odio quisquam?…
Card Title
Officiis odio quisquam? Molestiae necessitatibus felis eos, sociosqu! Tortor…
Card Title
Officiis odio quisquam? Molestiae necessitatibus felis…
Card Title
Officiis odio…
Adding Timber Posts module
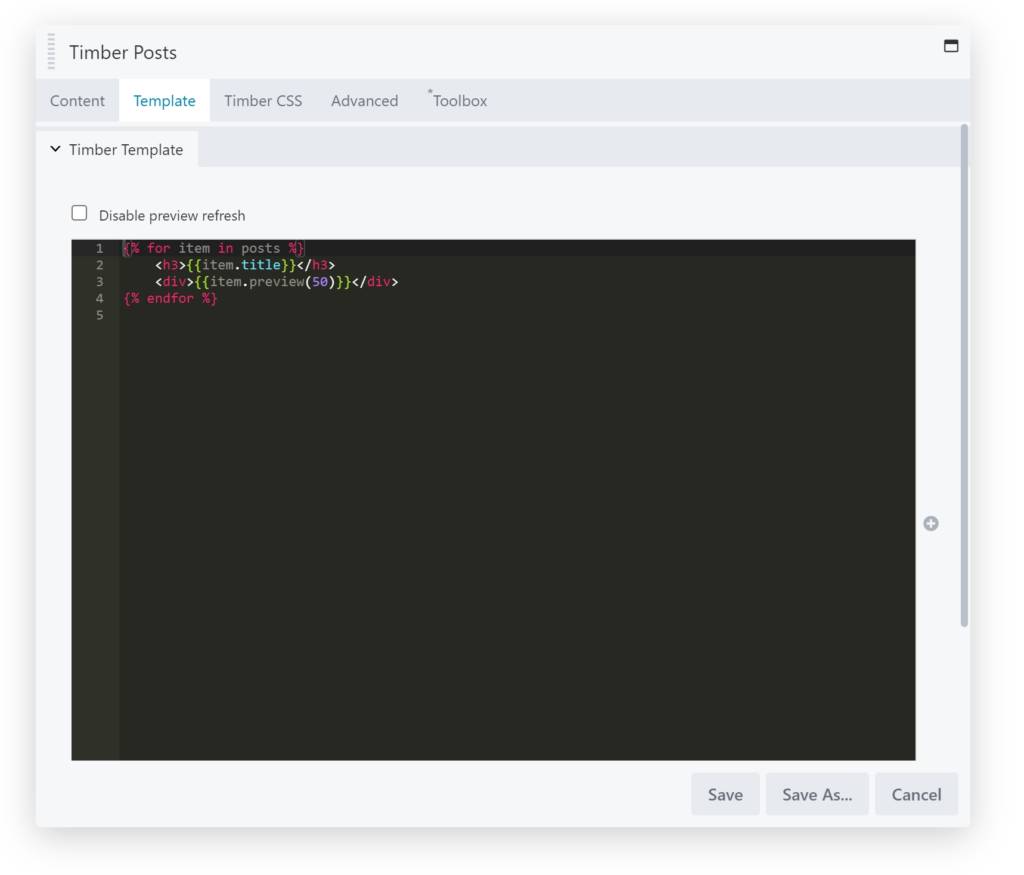
This is a good time to practice some basic Timber and coding skills. Since we will be using the Timber Posts module in Toolbox to generate the grid of posts, we will add a macro called ‘card’ in there to use in our loop.
Select the Timber Posts module from the Beaver Builder list of modules and drag it into your layout.

Set the Content posts
Make sure to set the ‘WP Query’ to ‘Custom Query’ and select the post type that you want to display.
Setting your Twig Template
Now you can add the macro called ‘card’ for your template. Each iteration of the posts will be using this card, and as often as needed.
{% macro card( item ) %}
<div>
    <div class="uk-card uk-card-default uk-card-small">
        <div class="uk-card-media-top">
            <img src="{{ item.thumbnail }}" alt="">
        </div>
        <div class="uk-card-body">
            <h3 class="uk-card-title">{{ item.title }}</h3>
            <p>{{ item.preview }}</p>
        </div>
    </div>
</div>
{% endmacro %}
Adding the Posts Loop
All that remains is adding the Posts Loop for the posts, that the module settings have fetched for you. using UIKit we can easily add the markup using the provided classes, so that our complete Twig template looks like this:
<div class="uk-child-width-1-3@s uk-grid-small" uk-grid="masonry:true;">
{% for item in posts %}
    {{
        _self.card( item )
    }}
{% endfor %}
</div>

{% macro card( item ) %}
<div>
    <div class="uk-card uk-card-default uk-card-small">
        <div class="uk-card-media-top">
            <img src="{{ item.thumbnail }}" alt="">
        </div>
        <div class="uk-card-body">
            <h3 class="uk-card-title">{{ item.title }}</h3>
            <p>{{ item.preview }}</p>
        </div>
    </div>
</div>
{% endmacro %}Note the use of the _self variable here, that refers to the template itself. This way we can use the macro used in the template.
Have a look at this post to learn more about more advanced uses of the Twig macro.
Beaverplugins
Web ninja with PHP/CSS/JS and Wordpress skills. Also stand-in server administrator, father of four kids and husband to a beautiful wife.Always spends too much time figuring out ways to do simple things even quicker. So that you can benefit.